Repairing electronic systems is a critical aspect of maintaining their functionality and longevity. However, once the necessary repairs are completed, it is vital to ensure that the systems are comprehensively reset to prevent operational issues. This process is not merely a formality but an essential step in restoring the system to its optimal state.
The act of resetting electronic systems after repairs involves clearing any stored error codes, calibrating settings, and returning the system to its original configuration. This ensures that any temporary changes made during the troubleshooting or repair process do not interfere with the system’s performance. Neglecting to reset systems properly can lead to recurring faults and undermine the effectiveness of the repairs.
Moreover, different electronic systems may require specific resetting procedures tailored to their architecture. Familiarity with the manufacturer’s guidelines is crucial in executing these procedures correctly. This knowledge not only enhances system reliability but also extends the operational lifespan of the equipment. Understanding the importance of systematic resets after repairs is key to successful maintenance in today’s technology-driven world.
Understanding the Importance of System Resets Post-Repair

After performing repair procedures on electronic systems, executing a proper reset is essential for several reasons. Primarily, a reset ensures that all components of the system revert to their default states, which is crucial for the stability and functionality of the device. Any changes made during the repair process, including updates or reconfigurations, may not take effect until the system is restarted.
An essential aspect of electronic systems is the interaction between various components. During repairs, certain settings may have been altered, or temporary configurations might have been employed to address specific issues. A system reset helps eliminate conflicts arising from these modifications, allowing the system to operate harmoniously post-repair.
Moreover, resetting the system can clear any residual data or error codes that may have accumulated during the malfunction or repair process. This clean slate is vital for accurately diagnosing any further issues that may arise, preventing confusion between new and pre-existing faults.
The act of resetting also reinstates the system’s performance parameters. It allows the firmware and software to reload, ensuring that any critical updates implemented during the repair are integrated correctly. This process not only enhances system efficiency but also prolongs the longevity of the device by minimizing the risk of future malfunctions.
Lastly, from a user experience perspective, a reset can restore user configurations and preferences, maintaining the consistency that users expect. It streamlines the transition from repair back to regular use, reinforcing user confidence in the system’s reliability.
In summary, undertaking a system reset after repair procedures is vital for the correct functioning of electronic devices. It mitigates potential conflicts, clears residual data, reinstates performance parameters, and ensures a seamless transition back to normal operation.
Step-by-Step Guide to Performing Component-Specific Resets
Resetting electronic systems involves addressing specific components to restore proper functionality. This guide outlines a systematic approach for performing resets on various components.
1. Identify the Component
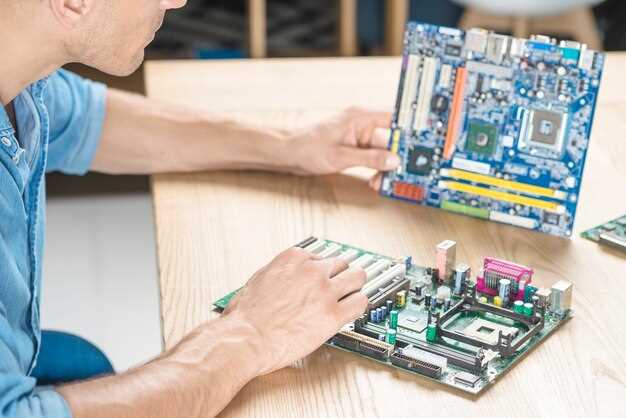
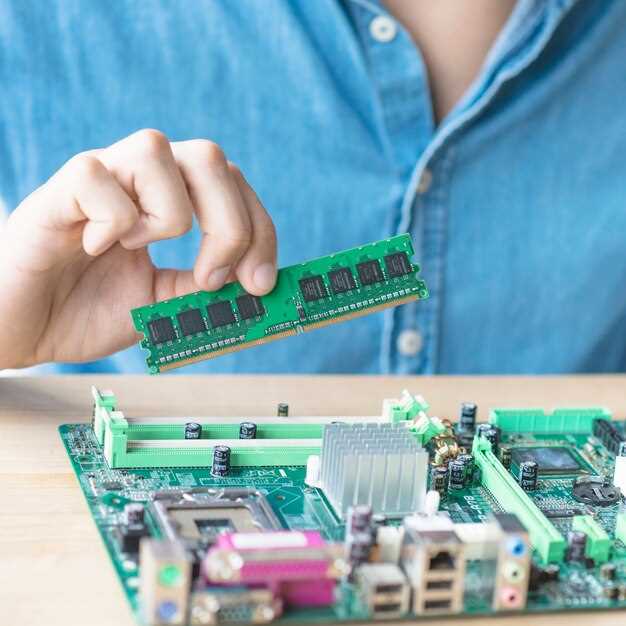
Before proceeding, determine which component requires a reset. Common components include processors, memory modules, sensors, and communication interfaces. Consult the device manual for specific component identification.
2. Gather Necessary Tools
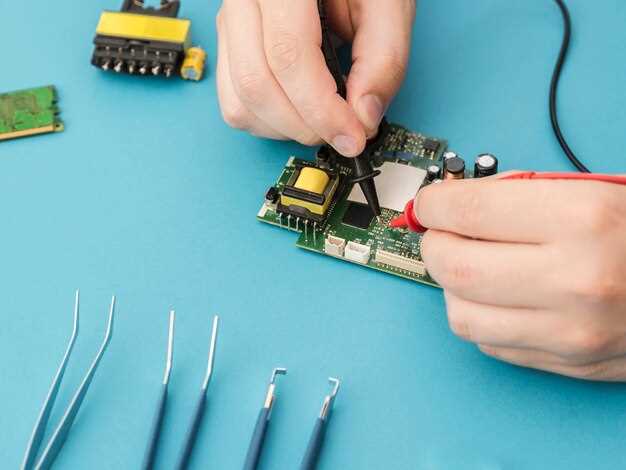
Ensure you have the appropriate tools ready. This may include screwdrivers, multimeters, software tools for firmware updates, or reset buttons specific to particular components.
3. Power Down the System
Always power down the electronic system before attempting any reset. Disconnect the device from the power source to prevent electric shock and protect sensitive components.
4. Locate the Reset Mechanism
Identify the reset mechanism for the targeted component. This could be a physical reset button, a jumper setting on the motherboard, or a software-controlled reset function. Refer to the manufacturer’s documentation for specific reset instructions.
5. Execute the Reset
Perform the reset by following the specific method:
- For Physical Resets: Press and hold the reset button for the recommended duration.
- For Jumper Resets: Place the jumper in the reset position as instructed, wait a few seconds, then return it to its original position.
- For Software Resets: Utilize the device’s interface to navigate to the reset option and confirm your choice.
6. Reassemble and Power Up
If you had to disassemble any parts of the system, carefully reassemble them, ensuring all connections are secure. Reconnect the power source and turn on the device.
7. Verify Functionality
Once powered on, check that the reset resolved the issues. Test the functionality of the component to ensure it operates as expected. If problems persist, further troubleshooting may be necessary.
8. Document the Process
Record the steps taken, including any observations during the reset. Documentation aids in future repairs and provides insights into system reliability and recurring issues.
Following these steps will help ensure that component-specific resets are performed effectively, minimizing downtime and maximizing system performance.
Troubleshooting Common Issues Following System Reset

After performing a system reset, users may encounter several issues that can hinder the normal operation of electronic systems. Addressing these problems promptly is essential to ensure optimal functionality.
One common issue is the failure to reconnect to networks. Upon resetting, the device may lose saved Wi-Fi or Bluetooth connections. To resolve this, navigate to the settings menu and re-enter the necessary credentials. Confirm that the device is within range of the network and that both the router and device are compatible.
Another frequent problem involves software bugs. Post-reset, some applications may not function correctly due to corrupted files or improper reinstallation. It is advisable to update the software immediately after resetting the system. Check for any pending updates in the settings section, and install them to fix bugs and improve performance.
Additionally, hardware recognition issues may arise. Devices connected via USB or other ports might not be recognized after a reset. Disconnect and reconnect the hardware, or try a different port. If the problem persists, check for hardware drivers that may need updating or reinstallation through the device manager.
Storage concerns can also surface. Free space might not reflect correctly or files could appear missing. Use built-in storage management tools to scan for and recover lost files. It may also be beneficial to clear cache files that can accumulate over time and take up unnecessary space.
Battery performance can degrade unexpectedly following a system reset. If the device exhibits rapid battery drain, ensure that all apps are closed and check the battery settings for rogue applications consuming excessive power. Performing a battery calibration may also help in optimizing performance.
Finally, if the system exhibits slow processing speeds, it could be due to background applications consuming resources. Access the task manager to identify and terminate any unnecessary programs running in the background. Consider adjusting startup programs to enhance system responsiveness upon reboot.
By systematically addressing these common issues post-reset, users can restore their electronic systems to full operational capacity with minimal disruption.


